Mapping View
In this page you can see the list of objects that are automatically mapped from Salesloft to RevSure. You can review and confirm the object mappings.
- Objects: Lists the objects that are mapped from Salesloft
- RevSure Entity: This section lists the RevSure entities mapped to the Salesloft objects.
For example, here the Salesloft Entity Ad Insights is mapped to the RevSure Entity Ad. A RevSure Entity can be mapped to multiple source objects and vice versa. 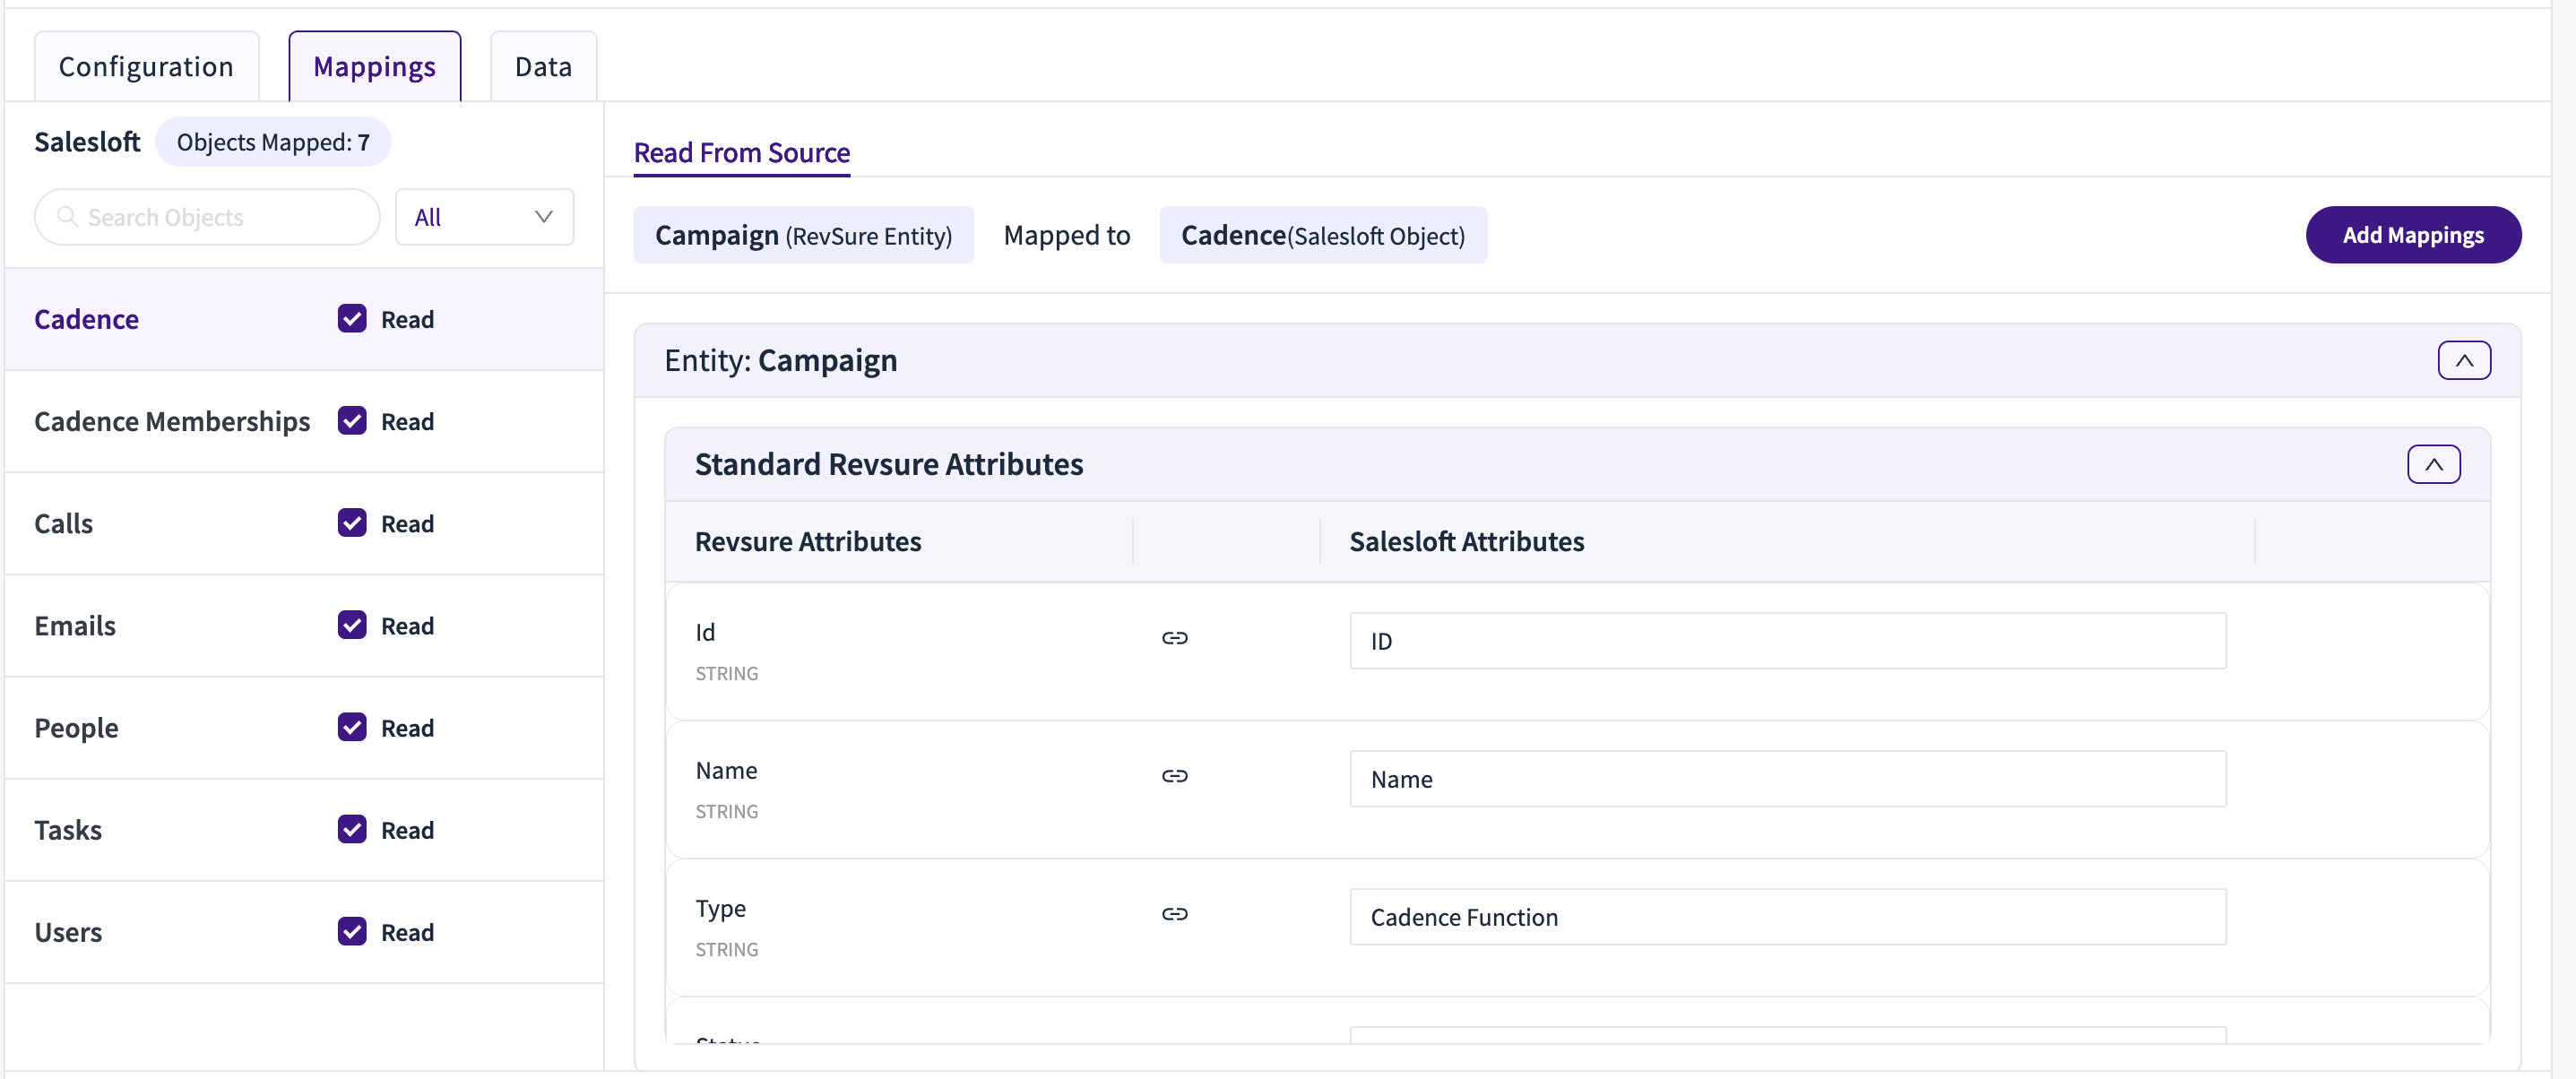 RevSure Attributes: A RevSure entity has a list of standard attributes.
Note: Use the toggle button present in the source objects list to un-map any source object to the RevSure entity
The RevSure attributes are mapped to Salesloft attributes
Adding New Mappings
If you would like to add a mapping for an attribute that is present in the RevSure Data Model,
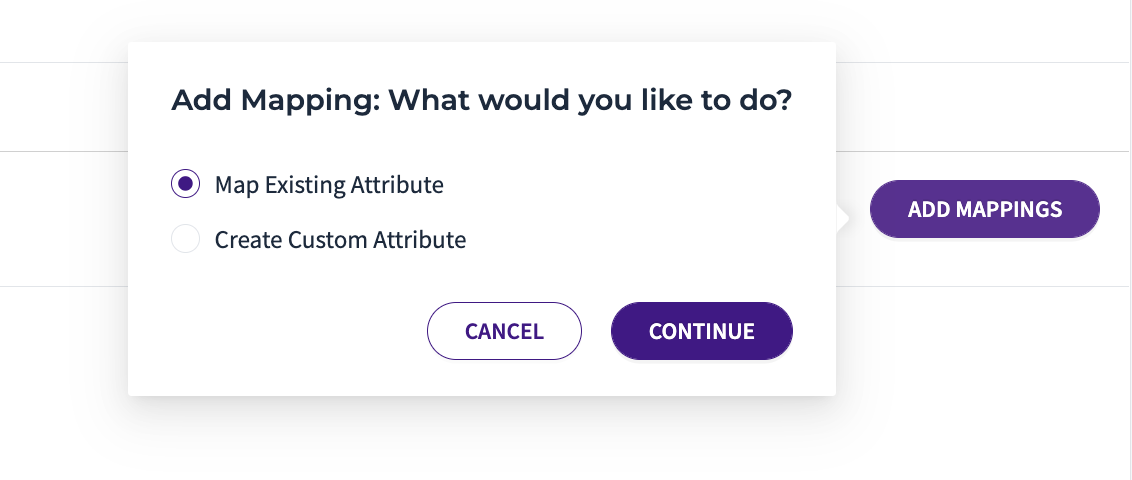
- Click Add Mappings on the Top right
- Click Map Existing Attribute and Click Continue
- Choose the entity that you would like to map to and click Map
- Choose the RevSure Attribute and the Source Attribute, and then click Add Mapping
If you would like to add a mapping by creating a new custom attribute that is not part of the RevSure Model
- Click Add Mappings on the Top right
- Click Create Custom Attribute and click Continue
- Choose the entity that you would like to map this new custom attribute to and click Map
- Enter the name of your attribute, choose a datatype, choose the Source Attribute, and then click Add Mapping
Change Mappings
To change the mappings:
- Hover over the source attribute name and click Edit.
- Choose the new attribute that you want to map.
- Click on the Delete icon to map the attribute to NULL
Note: Before changing the mapping name, go to Data View to confirm that you see the latest data values.
Data View
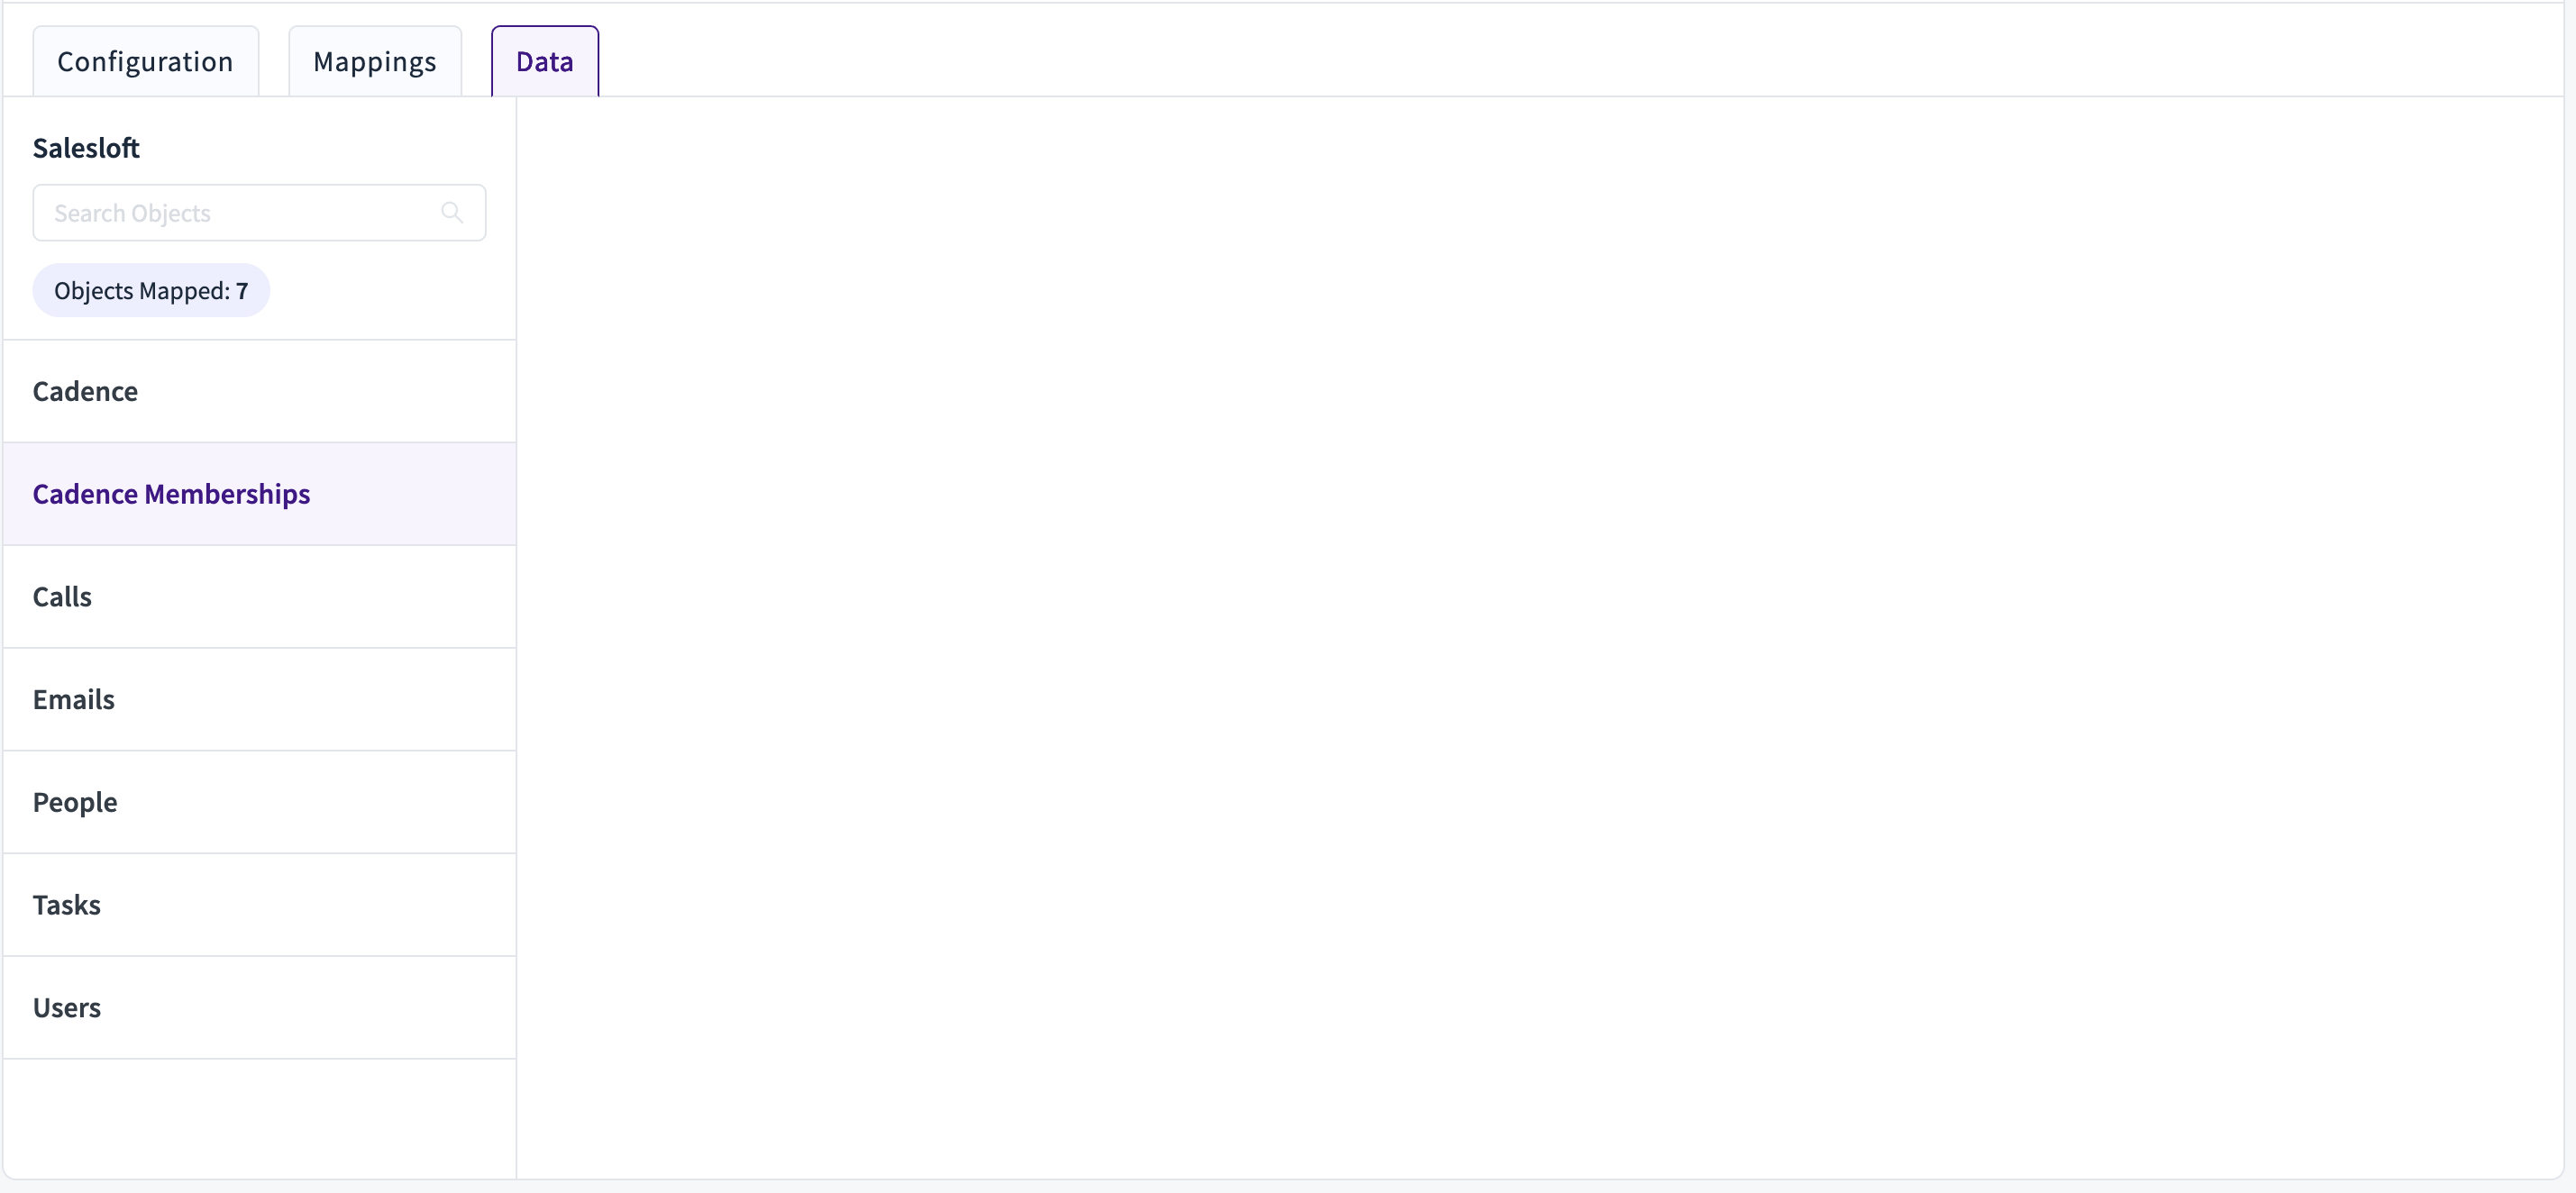
In this page, you can preview data of objects that are automatically mapped from Salesloft to RevSure and the data view for the selected object. This page also helps you confirm that the data integration is successful.
- Select a Salesloft object to see the preview of the data.
Confirm Mapping
Once you are done reviewing the mapping, you can click Confirm Mapping to start the data sync.